Creating a Wormery
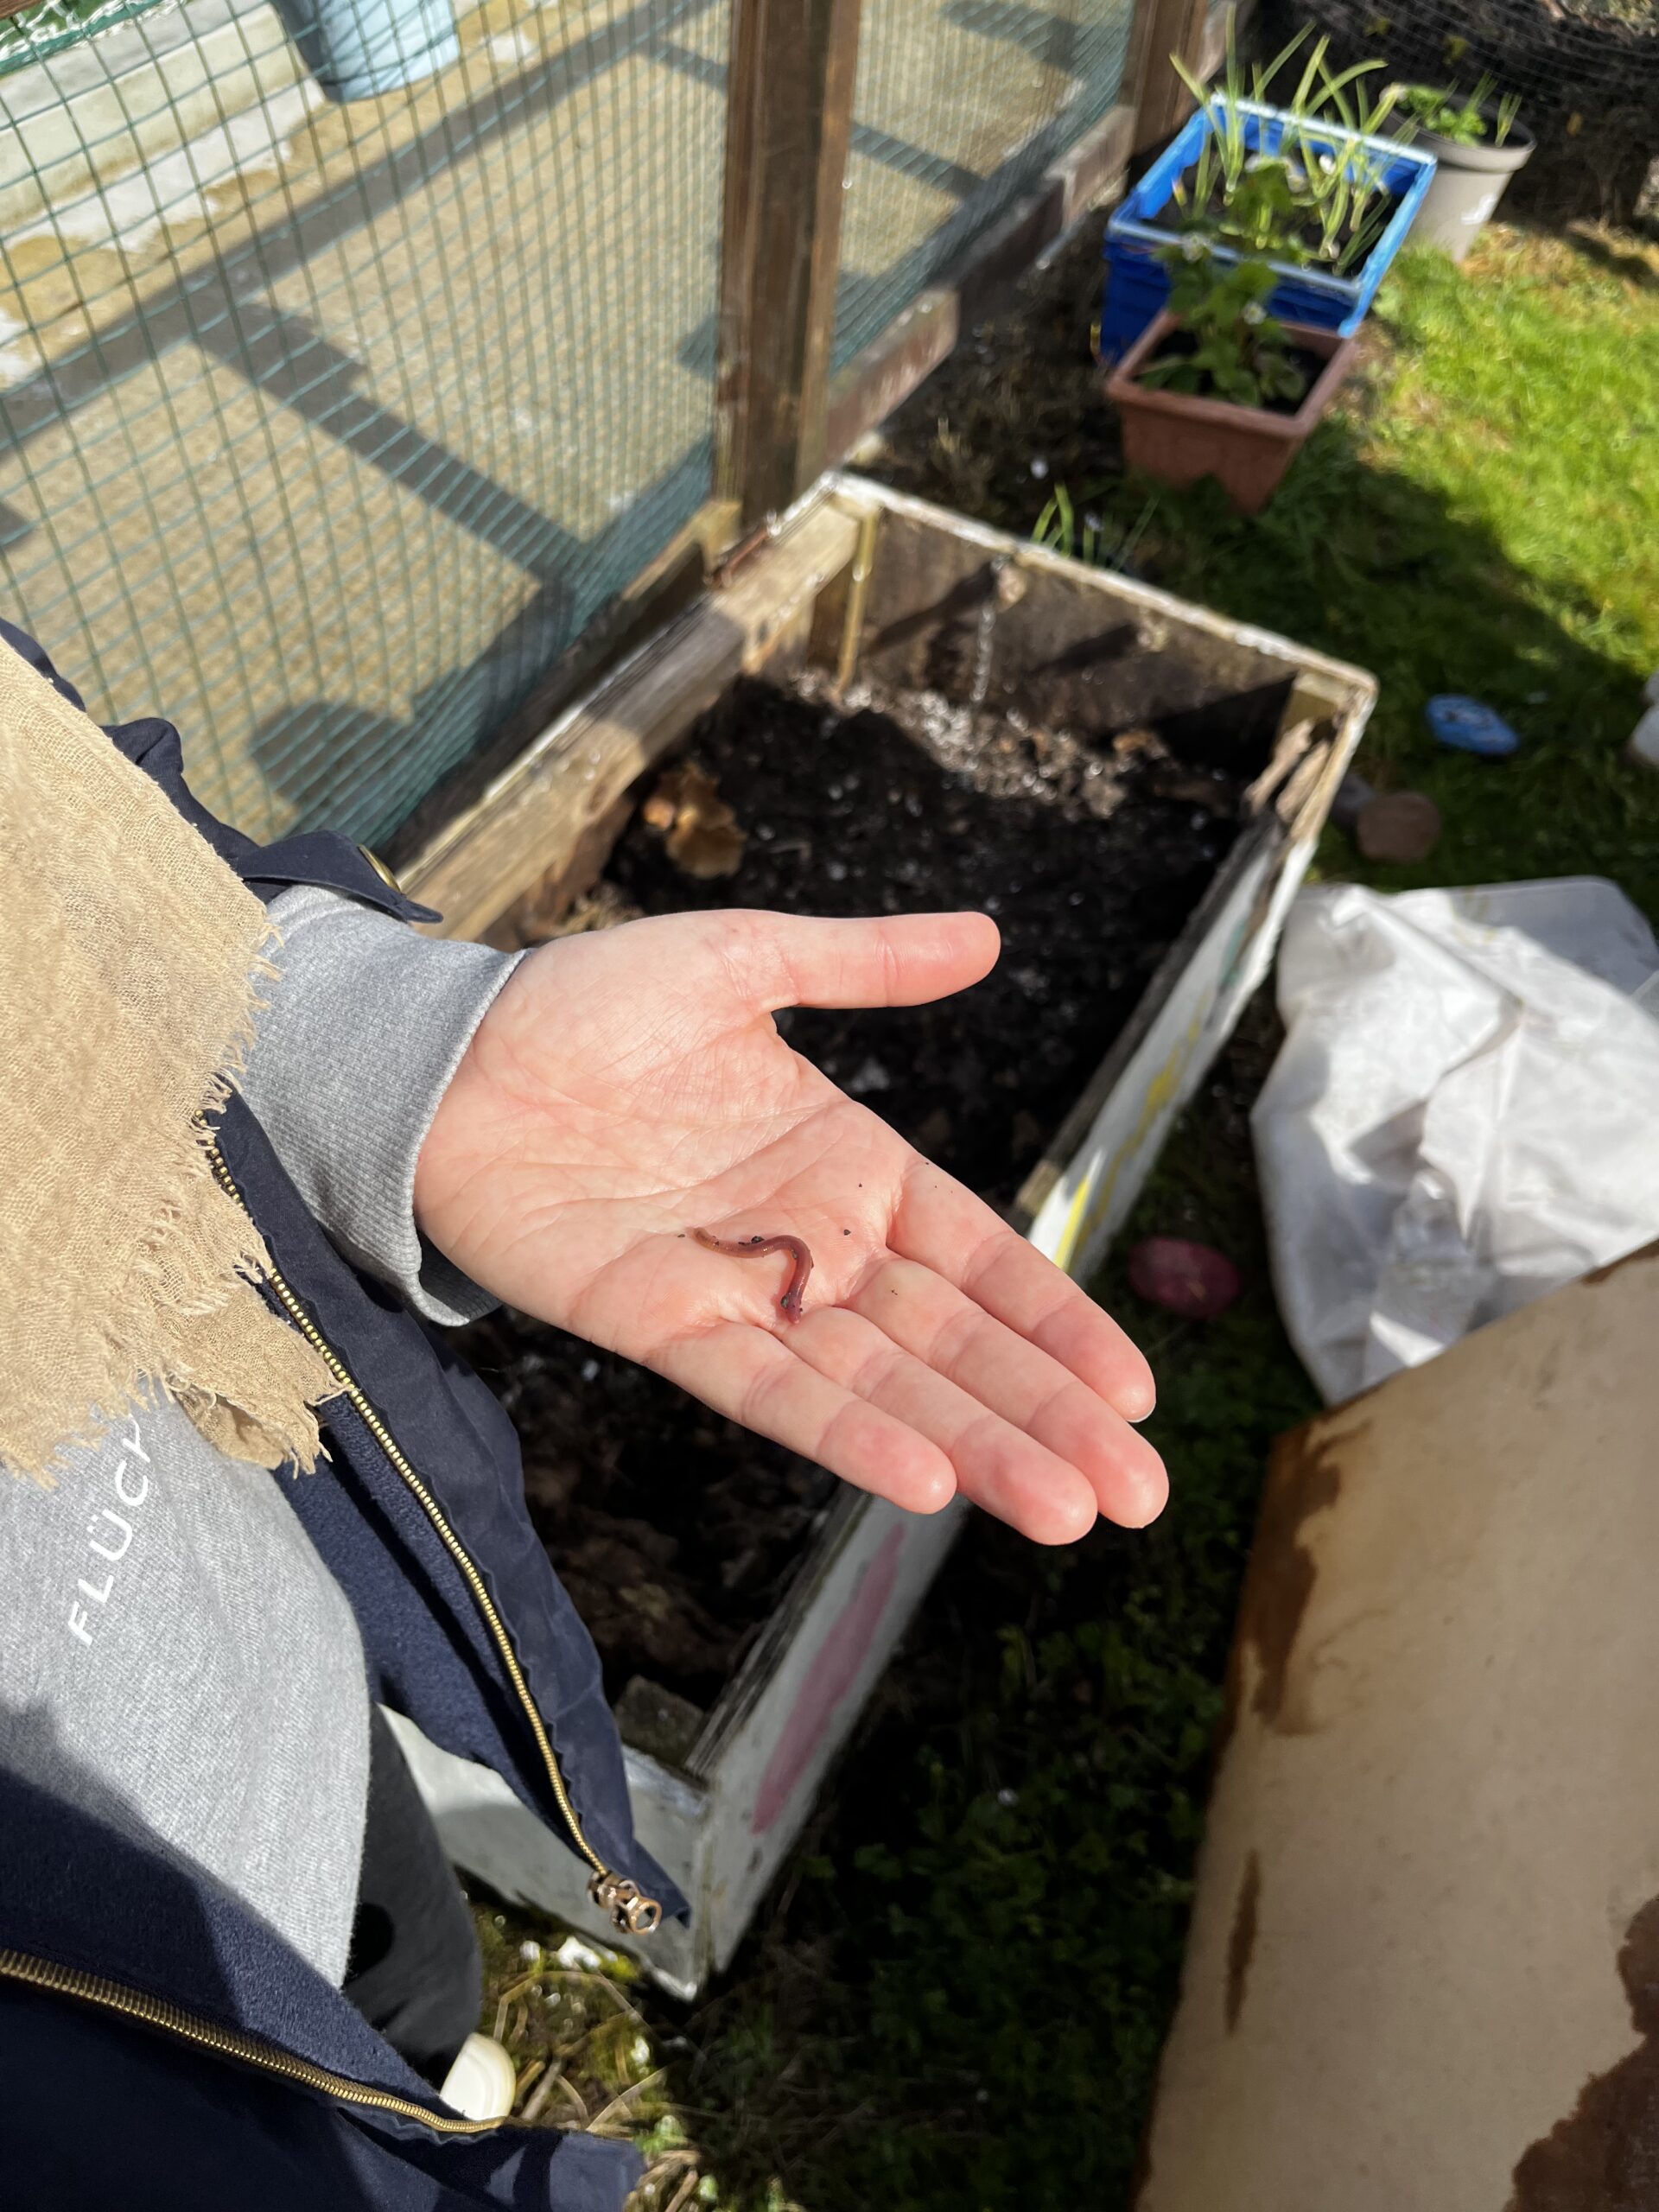
A wormery is an excellent way to turn kitchen scraps and garden waste into rich, nutritious compost. It works in small spaces, is clean and manageable, and gives you a steady supply of worm castings for your plants. There are many ways to build a wormery using either new or repurposed materials. The two most common systems are a single container or a set of stackable containers that let the worms move upwards as they finish each layer. The single box design suits larger-scale composting, while the stacking system fits most gardens, schools and homes.
1. Wooden box wormery
A wooden wormery is sturdy, breathable and ideal for larger volumes of waste. Full building instructions, including a materials list, are available at the following link. Note that the measurements are given in feet and inches.
Slideshare instructions: klick here
2. Stacking wormery
This design uses a set of plastic boxes that nest into each other. As the worms finish one level, they move up through holes into the next, leaving you with a tray of finished compost at the bottom.
REQUIRED MATERIALS & TOOLS

- Four strong plastic boxes that stack neatly. Each should be 10 to 15 cm high and around 20 litres in capacity
- A flat piece of wood or similar material to use as a lid
- Cardboard, shredded paper and autumn leaves for bedding
- Composting worms (taken from a compost heap or bought online or from a bait supplier)
- Drill with a 10 mm drill bit
Step by Step instruction
- Step 1: Take three of the boxes and drill 20 to 30 holes in the base of each. Drill a few small holes around the sides as well to improve air flow. Work slowly to avoid cracking the plastic.
- Step 2: Place one drilled box inside the undrilled box. Mix shredded paper, cardboard and leaves, then wet the mixture well. Add enough to half fill the drilled box.
- Step 3: Add the composting worms. You will need several hundred worms, roughly a quarter to half a kilogram in total.
- Step 4: Begin feeding the worms with small amounts of chopped fruit and vegetable scraps.
- Step 5: A cup of food per day is usually enough at the start.
- Step 6: When the first box is almost full, place the second drilled box on top and begin adding food to the new box.
- Step 7: When the second tray is almost full, add the final drilled box and continue feeding.
- Step 8: Keep the lid on at all times to protect the worms from rain, sun and pests.
- Step 9: When the top tray is nearly full, lift it off along with the middle tray. Check the bottom drilled tray. The worms should have moved up through the holes, leaving finished compost behind.
- Step 10: Empty this compost and remove any scraps that have not decomposed. Add those back into the working trays. Place the emptied box on top of the stack and start feeding into it.
- Step 11: Each time the top box becomes full, repeat the process of checking the bottom tray and harvesting the compost.
- Step 12: The undrilled bottom box will collect liquid produced during composting. This liquid should be removed regularly and diluted 1 to 20 with water before using as a fertiliser.
- Step 13: Watch how quickly the worms are eating. If food disappears quickly, you can increase the amount slightly. If it lingers, reduce feeding. Worms slow down naturally in cold weather.
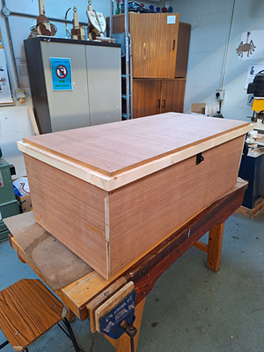
A wormery is a simple, low cost and highly effective way to recycle food waste while producing top quality compost for your garden. Once established, it needs very little attention beyond regular feeding and occasional harvesting. Whether you build a sturdy wooden box or use a stack of plastic trays, your wormery will support soil health, reduce waste and bring a small but meaningful boost to local biodiversity. There are many ways to make a wormery, using new or repurposed materials.