Build your Leaf Mould Composting System
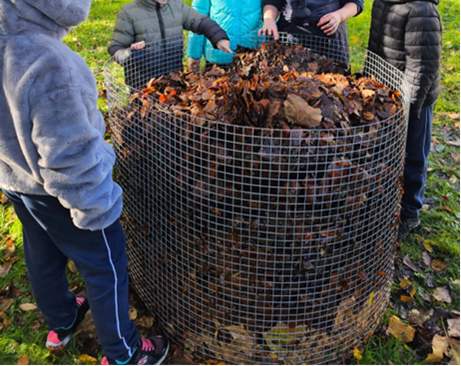
Leaf mould is one of the simplest and most reliable soil improvements you can make at home. It needs no turning, no special equipment, and very little effort. All you need is a steady supply of autumn leaves and a simple mesh cage to hold them while they break down. The method below gives you a tidy, durable system that fits easily into most gardens.

REQUIRED MATERIALS

- Galvanised wire mesh about 900 mm high
- Cable ties, wire or strong garden string
- Wire cutters or an angle grinder
- Safety gloves
The Leaf Mould Composting Process – Step by Step
- Step 1: Measure and cut the length of the mesh.
- A piece between three and four metres usually gives a good-sized cage.
- Step 2: Stand the mesh upright and bend it into a circle.
- Overlap the two ends slightly.
- Having another person hold on one side makes this step easier.
- Step 3: Monitor the LeaFasten the overlapping ends together with cable ties, wire or string.
- Pull them tight so the cage holds its shape.
- Step 4: Place the finished cage in a shaded area of the garden.
- Fill it with autumn leaves.
- If the leaves are very dry, sprinkle a little water on them as you go to help with the breakdown process.
HINT

Set up at least two cages if you have space. Leaf mould takes nearly two years to mature, so using two gives you a steady cycle. Fill one this year, fill the next one next year, and the first batch should be ready by the time the second cage is full.
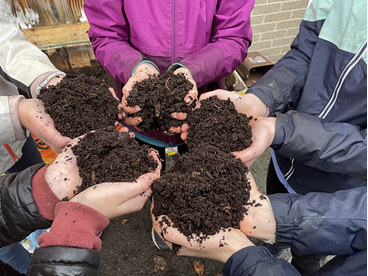
Once filled, your leaf mould cage needs almost no attention, apart from the occasional check to make sure the leaves stay slightly damp. After two years you will have a dark, crumbly material that improves soil structure, boosts moisture retention and supports healthy root growth. It is an easy, low-cost way to return organic matter to the garden and make good use of a natural resource that would otherwise be thrown away.